Contents
- Introduction
- Make Your Home Page Your Showcase
- Provide Fast, Direct Primary Navigation
- Don’t Neglect Secondary Navigation
- How Do I Create a Theme-Based Product Section?
Introduction
Every site visitor is a potential customer, so having attracted them, you want to hold onto them and do all you can to convert them.
Hopefully they have come because they’re looking for things you sell. So the next step is to help them find the things they are looking for. The advice in this article should help ensure that your visitors can find what they want quickly and easily.
This article draws on the latest research into website usability by the Baymard Institute, https://baymard.com/.
1. Make Your Home Page Your Showcase
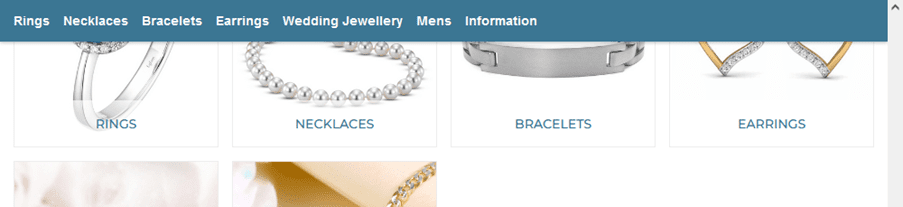
Your home page should showcase a broad and representative range of the products you have for sale, and offer fast and direct navigation by multiple routes.
As well as offering direct access to all of your top-level sections, it should provide appropriate thematic browsing of your products. For example, if you are selling furniture you will probably want to offer access to products by room and by colour scheme, and perhaps also by brand.
Sellerdeck Swift includes a visual list of top-level sections on the home page, in addition to the standard menu. You can easily add alternative thematic browsing using product filtering. See ‘How do I create a theme-based product section?’
Depending on your products and your market, you may also want enable the New Products List (Marketing > New Product Listing) and/or the Best Sellers List (Marketing > Best Sellers) to give direct access to your latest and best-selling items.
2. Provide Fast, Direct Primary Navigation
A mega menu is generally recommended for the primary navigation, because they are widely used and understood and reduce the number of mouse clicks to access lower-level subsections.
Sellerdeck responsive themes (Smart, Classic and the Wireframe theme) and Sellerdeck Swift all include a mega menu as standard. Ideally the menu should ‘float’ at the top of the page as you scroll down – Sellerdeck Swift adds this facility.
The main limitation of a mega menu is horizontal space. You should limit the number of top-level sections and the length of their names, to fit all into one line. Navigation in any case works best when items are grouped into manageable chunks. So don’t have excessive numbers of subsections within the same section.
The mega menu settings are in Settings > Site Options > Mega Menu.
- If your mega menu wraps onto two lines, reduce ‘How many sections to show in top menu’
- To include only top-level sections and first-level subsections, set ‘Select depth of menu to display’ to “2nd level”
3. Don’t Neglect Secondary Navigation
Non-product navigation and free text search are also important to ensure that customers can find everything they need and retrace their steps when necessary.
Do include these other important navigation elements, all of which are provided out of the box in recent Sellerdeck Desktop themes including Swift:
- A breadcrumb trail in product and section pages to make it easy for users to navigate back up the hierarchy
- A prominent search box to enable freestyle searching. (Latest versions of Sellerdeck Desktop also include a useful autosuggest feature for the search box. Swift also supports filtering of search results, which can help users further refine their text search to improve their chances of success)
- A phone number that’s clickable on mobile
- A ‘courtesy menu’ for non-product links such as login and order tracking
4. How Do I Create a Theme-Based Product Section?
Provided you have Sellerdeck Desktop v12.0.0 or above you can use product filtering to create thematic sections that populate dynamically with appropriate products.
This worked example is based upon a section containing bedroom furniture, but the same principles apply to any theme-based section.
- First you need to add a new variable for the theme selection, which in this case we will call ‘Room’.
- Select ‘Library’ from the ‘Design’ menu.
- Select the ‘Variables’ tab and scroll down to ‘Product’.
- Right-click ‘Product’ and select ‘New Variable’.
- Enter ‘Room’ for the Name and enter an appropriate Description and Prompt.
- For ‘Place of Setting’ tick ‘Site’, ‘Section’ and ‘Product.
- Tick ‘Searchable’ and change the Type to ‘List of Choices’.
- Select the ‘Values’ tab. Click ‘New’ to enter each room type covered by the product range.
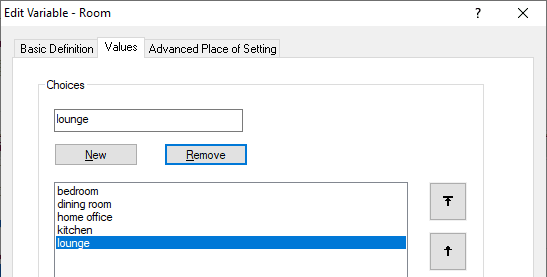
- Click ‘OK’.
- Next, assign a value to the variable for each item of furniture in the catalogue.
- Select the product in the Content Tree. (If all products in a Section will have the same value, you can set the value at the Section level).
- Click the ‘Properties’ tab and select the appropriate value for the item, then click ‘Apply Changes’.

- To create a parent Section for your theme-based Subsections, right-click ‘Online Catalogue in the Content Tree and select ‘New Section’. For the present example, give the section the name ‘By Room’.
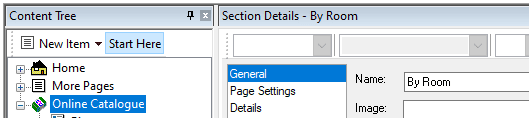
- Browse and select an appropriate image for the section, then click ‘Apply Changes’.
- Finally, create a sub-section for each room as follows:
- Right-click ‘By Rooms’ and select ‘New Sub-Section’.
- Enter a name for the first room type, eg ‘Bedroom’.
- Browse and select an appropriate image for the section.
- Click the ‘Filtering’ tab and tick both ‘Enable Filtering and Sorting’ and ‘Make Filtering the Default View’.
- IMPORTANT – change ‘This Section’ to ‘All Sections’.
- Click the [+] icon below ‘Where Properties Have Value:’
- Select ‘Room’ from the drop-down menu and set the value to ‘bedroom’. On the website this will populate the section with all products for which the variable ‘Room’ has the value ‘bedroom’.
- Repeat for each room that you intend to include.
- Upload the site to see your new theme-based menu option ‘By Rooms’.
You can also feature any theme-based subsection, or the parent ‘By Rooms’ section, on the home page, as follows:
- Expand the ‘Home’ section in the Content Tree.
- Right-click in the list of Fragments where you want to insert your new content.
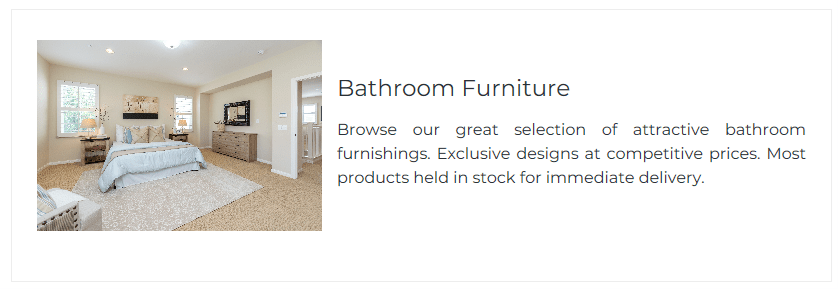
- Select ‘New Fragment’ and enter a Fragment Title, eg ‘Bathroom Furniture’. This will be the heading of the new feature.
- Enter some descriptive text and select an appropriate image.
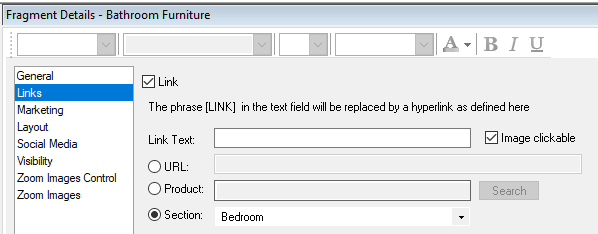
- Select the ‘Links’ tab and tick ‘Link’.
- IMPORTANT: Tick ‘Image clickable’.
- Select ‘Section’ and select ‘Bedroom’ from the Section drop-down.
- Click ‘Apply Changes’ and preview the site to see the addition to the Home Page.
Upload the site when you are happy with all your changes.